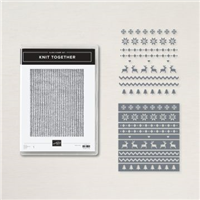
Holiday cards are still my thing this month. I send out a lot of holiday cards every year to my family, friends, and Stampin’ UP! customers so I’m always thinking about designs or taking inspiration from others. I was inspired to make this card by Brian King. at StampwithBrian.com. You can see his card HERE. I definitely wanted to use the Knit Together bundle. I’ve used that bundle before, you can see that card HERE.
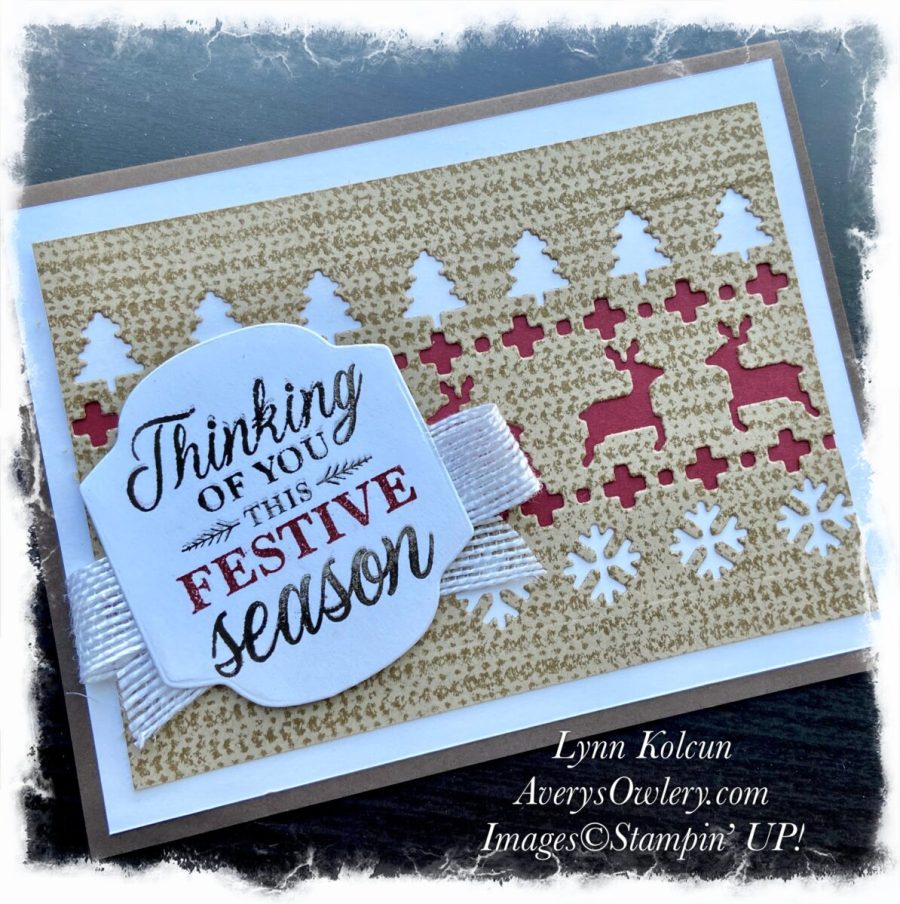
I love the color combination of Crumb Cake, Cherry Cobbler, and Early Espresso. It is so warm and inviting and with the addition of Basic White it gives it pop, keeping it from being too dark. Try this color combination on your next holiday card and tell me how you like it.
I performed some tricky masking and stamping to get my sentiment from Merriest Moments to include two ink colors. My Stamparatus was a must-have for this technique. I would suggest cleaning the stamp really well, better than I did if you look closely, in between stamping. More on how I did it below.
Step by Step Festive Knit Together Card
- Early Espresso cs 8-1/2 x 5-1/2 scored at 4-1/4
- Two pieces of 4 x 5-1/4 basic white, plus enough for the sentiment.
- Stamp the Knit Together image on a large piece if Crumb Cake cs with Crumb Cake ink. You want this to be larger than the finished size. My finished size was 3-1/2 x 4-7/8 but yours could be slightly different.
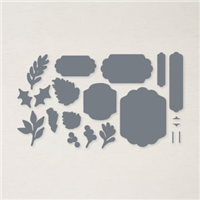
- Lay out the Knit Together dies in the order you like. Tape them together on the flat side to keep them from shifting. Run them through you die-cutting machine.
- Now you can trim your die-cut panel down to the size you want. Pay attention to where the die cuts are. I tried not to cut any of the deer or trees in half.
- Measure the space needed to back the portion of your die-cut with Cherry Cobbler. Mine is 1-1/2 x 4-7/8. Yours could be different depending on which dies you used. The spacing between the die-cuts is pretty narrow so I added two strips of white behind the treess and the snowflakes first (1/2 “) and then added the cherry cobbler sligthly bigger than what I needed.
- Adhere with tape runner to one of your 4 x 5-1/4 pieces of white then add both to the card front.
Creating the two-tone sentiment
- Using your Stamparatus, mount the sentiment from Merriest Moments. and use postit tape, washi tape, or postit note to mask off the words Festive Season then ink with Early Espresso and stamp on Basic White.
- Remove masks and clean stamp throughly. Place make on the upper portion of sentiment covering Thinking of you this Festive. Ink with Early Espresso and stamp again. Clean the stamp.
- Finally, mask the top and bottom portion of the sentiment leaving just the Festive showing. Ink this with Cherry Cobbler. A Stampin Spot works best for this space. TIP- I did not use my cherry cobbler marker because the stamp is photopolymer. I don’t feel lik the ink from the marker adheres to the stamp well, leaving puddles instead of a nice clean image. If the stamp is Red Rubber, the markers work great.
- Die cut the sentiment with Seasonal Layers. Fold a piece of White flak ribbon (Retired) or other white ribbon in thirds and use glue dots to hold it together. Ahdere to the back of the sentiment with more glue dots. Adhere the entire sentiment to the card front with dimensional.

Thanks for visiting my little portion of the Internet today. Click the button below to shop my online Stampin’ UP! store 24/7. If you have any questions, drop me an email at [email protected].
Buy Awesome StuffHappy Stamping
Lynn
If you enjoyed this post please be sure to…
- Check out my Gallery of Projects for more inspiration
- Save 10% on Product Bundles
- Check out the Clearance Rack and save up to 70%
- The $99 starter Kit is the Best Deal of ALL. Discounts & benefits Here
- Sign up for my Newsletter for information on Sales, classes, and Specials

Don’t forget to keep an eye out for OnLine Exclusive product offerings at StampinUp.com. These products won’t be found in any catalog and will stick around until gone.
Shop Online Exclusives