Mother’s day was awesome for me this year, as my daughter Kelsey surprised me with an at-home spa day. She really went all out with slippers, a robe, facials, and all the goodies for a relaxing afternoon. She’s pretty awesome and I wanted to tell her so and thought I would try my hand at some no-line watercolor.

Last week I shared a couple of cards I made using Shannon West’s videos and techniques. Shannon is an employee at Stampin’ UP! and a super terrific person and artist. My final card from my Shannon pile is a no-line watercolor technique. I know what you’re thinking, you can’t draw a stick figure, that’s why you stamp and I get that. I’m the same way, but Shannon shared how she created her daisy flower and I want to share it with you. You can see Shannon’s card and video Here.
Supplies
First, you will need either watercolor paper or shimmer paper. I’m way more successful using watercolor paper than I am using shimmer paper so that’s what I used. Then you’ll need ink, water, and your brush of choice. I used the Stampin’ UP! aqua painter, but other paintbrushes work as well.
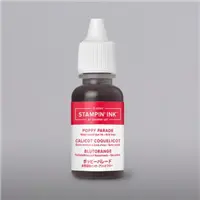
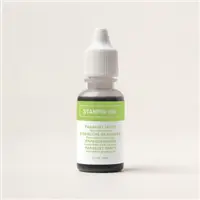
My rule of thumb is I never purchase an ink pad without also purchasing the re-inker. Ink pads will go dry over time and if you love that color, why not have a re-inker available when you need it. Besides, you can use that re-inker for many other things, like watercolor.
How To
Use the lid of your stamp pad, an acrylic block, or even a small dish, and add a drop or two of ink and enough water to achieve the saturation you want. The colors I used today are Daffodil Delight, Poppy Parade, and Parakeet Party.


Begin by making the outline of the petals around an imaginary center, with daffodil, filling in the petals once they are all drawn. This does not have o be perfect, as it’s a flower and flowers are organic and unique. Now add the Poppy Parade to the base of the petal, and the water will carry it up into the petal.


Use the Poppy Parade to draw the flower center and fill it in with ink. and then draw your stems and leaves. You can let the ink dry on its own, or you can use a heat gun to speed it up. The results will be slightly different depending on the method you choose, so experiment with what you like best.
My sentiment comes from the Happy & Heartfelt stamp set, stamped with Versamark on basic black cardstock then heat embossed with white. I trimmed the sentiment in a fun and funky way with my paper snips.

Thanks for visiting my little portion of the Internet today. Click the button below to shop my online Stampin’ UP! store 24/7. If you have any questions, drop me an email at [email protected].
Buy Awesome StuffHappy Stamping
Lynn
If you enjoyed this post please be sure to…
- Check out my Gallery of Projects for more inspiration
- Save 10% on Product Bundles
- Check out the Clearance Rack and save up to 70%
- The $99 starter Kit is the Best Deal of ALL. Discounts & benefits Here
- Sign up for my Newsletter for information on Sales, classes, and Specials
Current Specials