


Welcome to the InKing Royalty Christmas Blog Hop and my Poinsettia Fun Fold project! During this year’s blog hops, we are enjoying a year of celebrations. This month’s projects celebrate Christmas, which – believe it or not – is just around the corner. Please prepare yourself for lots of beautiful projects that share the joy of this holiday. We are excited to share our creations with you today! After you read my post, I hope you’ll hop over to the next person on the list at the base of this post.
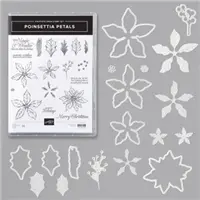
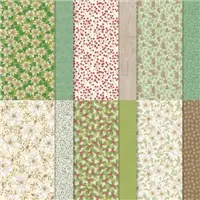
Fun folds are the best card making technique to add wow to your cards. I suppose this one isn’t exactly a fun fold but it is fun and definitely has wow. I used the Poinsettia Place Stamp/die bundle and Designer series paper to create my Poinsettia Fun Fold cards. Take a look.

Julie DiMatteo, a fellow SU Demonstrator shared a card in a meeting this week where she pulled back the top layer of Designer series paper. I used that as my starting point, first selecting the DSP and stamp sets.

My initial thought was to orient this fun fold card in portrait style but the sentiment from Poinsettia Petals was too wide to fit, so instead I turned it all around to landscape stamping the sentiment on the card base first using my Stamparatus.


Tips and Tricks
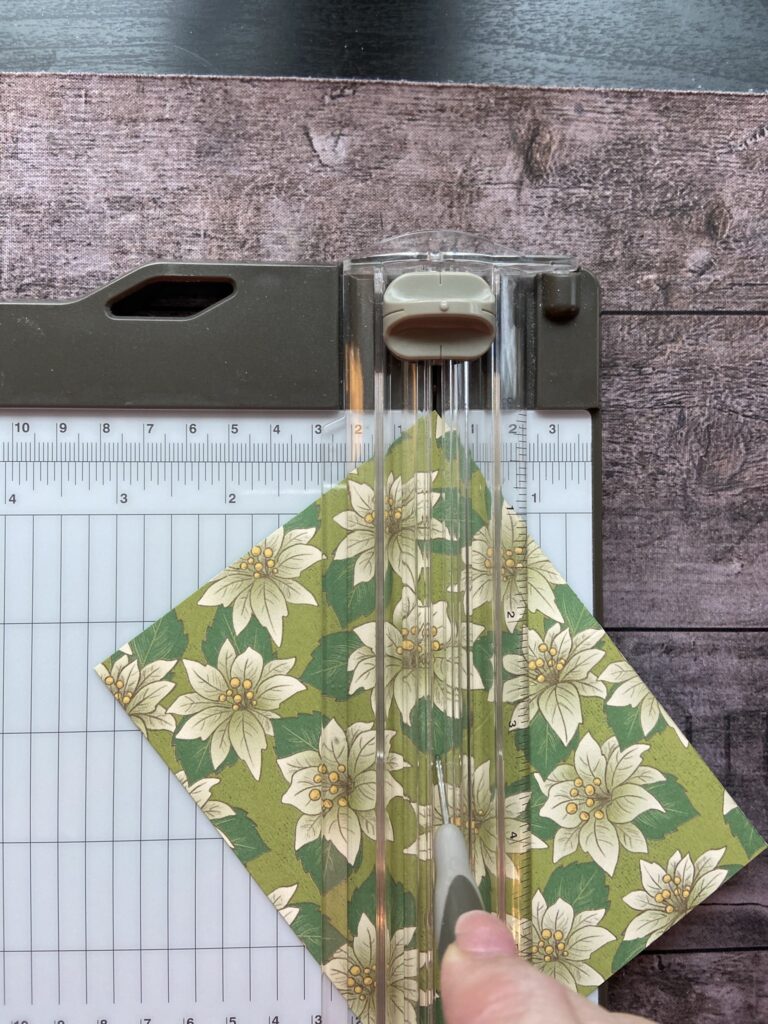
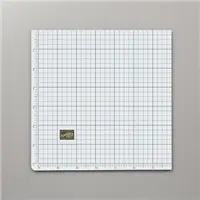
The trick to this Fun Fold design is in the simple cutting.
- Identify the halfway point on the long side and cut into the half way point on the short side.
- I used my paper piercing tool, or the take your pick tool would work as well and placed it in the center of the paper. I could then spin the paper to line up the corners and score on the diagonal to the center, repeating on the other corner.


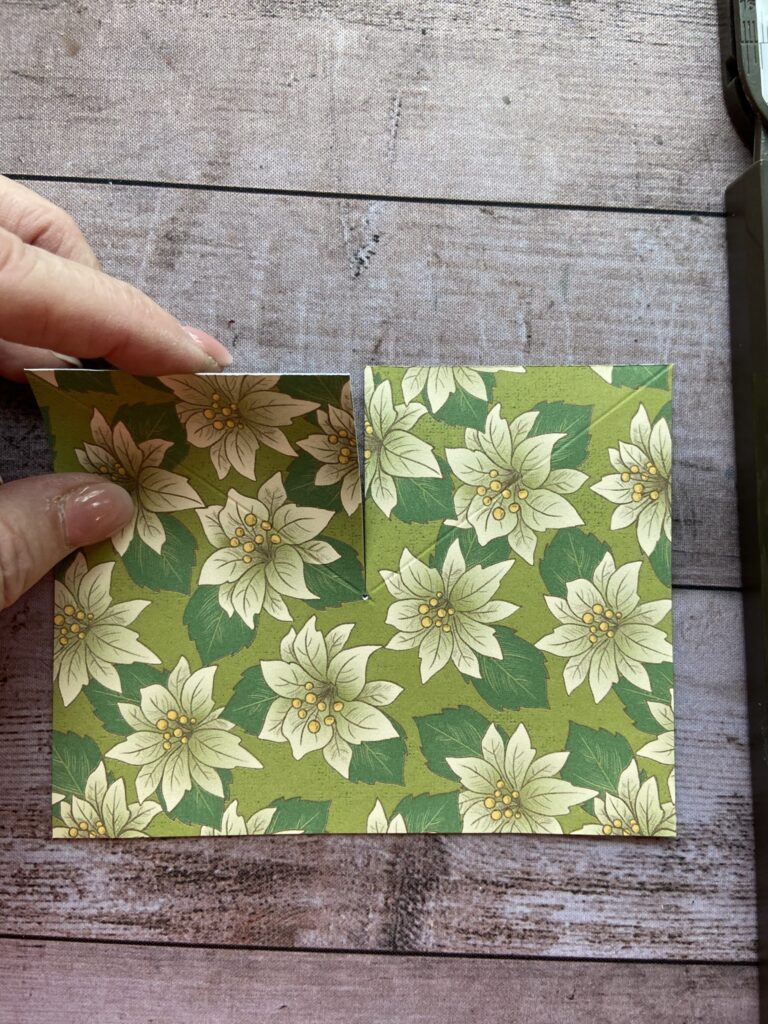
Now to curl the flaps.
- Use a pencil, pen or marker and wrap the paper around it, being sure not to go to far and tear the paper.
- Uncurl the paper and pull the tip out, curling it in the opposite direction gently with your fingers.
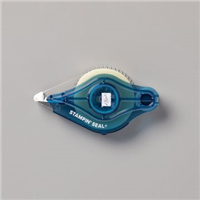
- Adhere a glue dot just inside the tip and adhere to DSP.
- If you are concerned about it getting squished in the mail, add two dimensionals in the larges part of the curl to keep it puffed up.


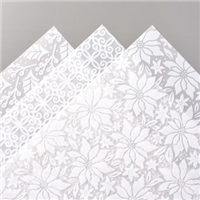
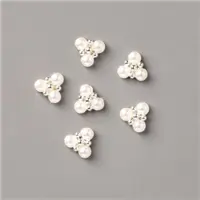
The two Fun Fold cards were finished up with pretty Poinsettia images. The real red was stamped in Versmark and heat embossed with clear powder on real red cardstock then die cut. The vellum flocked poinsettia was die cut from Plush Poinsettia Specialty paper.
Thank you for stopping by today. I hope you’ll hop along to the next stop on the blog hop, Pam Morris at Tap Tap Stamp There’s lots of inspiration to be found in this group – and you don’t want to miss it!
Happy Stamping,
Lynn
InKing Royalty Blog Hop Line-Up
- Brian King at Stamp with Brian
- Ann Murray at Murray Stamps Ink
- Candy Ford at Stamp Candy
- Sheryl Sharp at Sharp Notes by Sheryl
- Julie DiMatteo at The Paper Pixie
- Rachel Brumley at Artistic Designs by Rachel
- Jackie Beers at Blue Line Stamping
- Sue Jackson at Just Peachy Stamping
- Joanne Brown at The Inky Dragon
- Lynn Kolcun at Avery’s Owlery YOU ARE HERE
- Pam Morris at Tap Tap Stamp
- Renae Novak at Blessed by Cards
- Linda Krueger at The Stamp Coach
- Shawn de Oliveira at Shawn Stamps
- Robin Myren at Songbird Designs by Robin
Here are some of my past projects using Poinsettia Place
If you enjoyed this post please be sure to…
- Check out my Gallery of Projects for more inspiration
- Save 10% on Product Bundles
- Check out the Clearance Rack and save up to 70%
- The $99 starter Kit is the Best Deal of ALL. Discounts & benefits Here
- Sign up for my Newsletter for information on Sales, classes, and Specials


Your card is elegant and gorgeous. This fold seems perfect for the suite.
Thanks so much Jackie. I agree, that suite was just right.
Gorgeous effect with that DSP!
Thanks so much Linda
So bold and beautiful! This paper is PERFECT for this fun fold – all of the patterns are amazing (and so are your cards). So happy you hopped with us today!
Thanks so much Brian. I looked through all my DSP stash and really felt like these papers were just what I needed and the Poinsettia flowers made great acccents.
Wow! Your poinsettias are perfect for the fun fold. Actually, everything about the cards is perfect – the sentiment, the DSP, the folds, the stamping, and of course those beautiful flowers. Thank you for sharing these cards.
Awe, thanks Linda. These were fun cards to create.
Linda, Wow this is beautiful, what a fun fold in an elegant kind of way!
Thank you so much Renae
Your card is simply gorgeous! The Plush Poinsettia Flower added so much to the card.
Thank you Rachel
Lynn these cards are soooo pretty! I love them both, but the white poinsettia is gorgeous! Thanks for all the illustrations. I might try one.
Thanks Sheryl. I hope you do
Wow, Lynn, this is so great! It’s like the fancy poinsettia is lifting up her skirt to show off her petticoat underneath!
Candy. You are so funny. Now that is all I see.
Lynn, I love the way you used this fancy food on the horizontal. It’s such beautiful DSP and you let it shine! Just gorgeous!
Thank Robin
Beautiful!
Oh my gosh Lynn…I have never seen anything like this. Absolutely stunning. I can’t wait to try it!!!!
Thanks so much Pam
Both are absolutely gorgeous! My favorite is the white poinsettia, but they are both so pretty! The fold of the front is like opening a present. Love the fun fold!
What beautiful cards and so unique with the curls. Thank you for sharing.
Love your rolled fold on your beautiful cards! That plush poinsettia paper is amazing, so happy you featured it in white.